Launching a fresh instance directly from Jenkins and having it run your preferred commands right from the start can feel almost magical when your automation finally clicks into place. Instead of logging in manually every time, you can have your server spin up, configure itself, and execute setup steps while you watch the console output update in real time. This kind of hands-off provisioning is exactly what modern CI/CD pipelines are designed to do: turn repetitive, error-prone manual work into a reliable, scripted process that runs the same way every time.
To begin that journey, you first need to log in to your Jenkins dashboard. Start by bringing up your Jenkins server in a browser, entering the correct URL for your instance. When the login screen appears, type in your username and password, then click the sign‑in button to access the main interface. From there, you can start defining jobs or pipelines that will be responsible for launching new instances and passing in whatever startup commands you want the machine to execute as soon as it comes online.

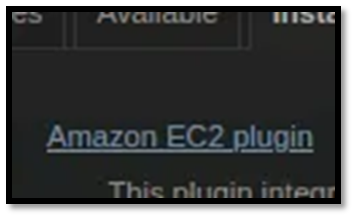
Once Jenkins is up and running, the next step is to add support for Amazon EC2. Instead of downloading anything manually, open your Jenkins dashboard and go to Manage Jenkins → Manage Plugins. In the Available tab, search for “Amazon EC2”, select the Amazon EC2 plugin, and install it. When the installation completes, switch over to your AWS Management Console, because Jenkins will need permission to spin up EC2 instances on your behalf. In AWS, open the IAM service, go to Policies, and click Create policy. Choose the JSON tab and paste in the required permissions document that will allow Jenkins to launch and manage EC2 instances securely under that policy.
“Version”: “2012–10–17”,
“Statement”: [
{
“Sid”: “VisualEditor0”,
“Effect”: “Allow”,
“Action”: [
“ec2:DescribeInstances”,
“ec2:TerminateInstances”,
“ec2:RequestSpotInstances”,
“ec2:DeleteTags”,
“ec2:CreateTags”,
“ec2:DescribeRegions”,
“ec2:RunInstances”,
“ec2:DescribeSpotInstanceRequests”,
“ec2:StopInstances”,
“ec2:DescribeSecurityGroups”,
“ec2:GetConsoleOutput”,
“ec2:DescribeSpotPriceHistory”,
“ec2:DescribeImages”,
“ec2:CancelSpotInstanceRequests”,
“iam:PassRole”,
“ec2:StartInstances”,
“ec2:DescribeAvailabilityZones”,
“ec2:DescribeSubnets”,
“ec2:DescribeKeyPairs”
],
“Resource”: “*”
}
]
}
and on the Visual Editor Tab search for IAM and add the policy as well and click on Review Policy, Give your policy a name and click on Create Policy.
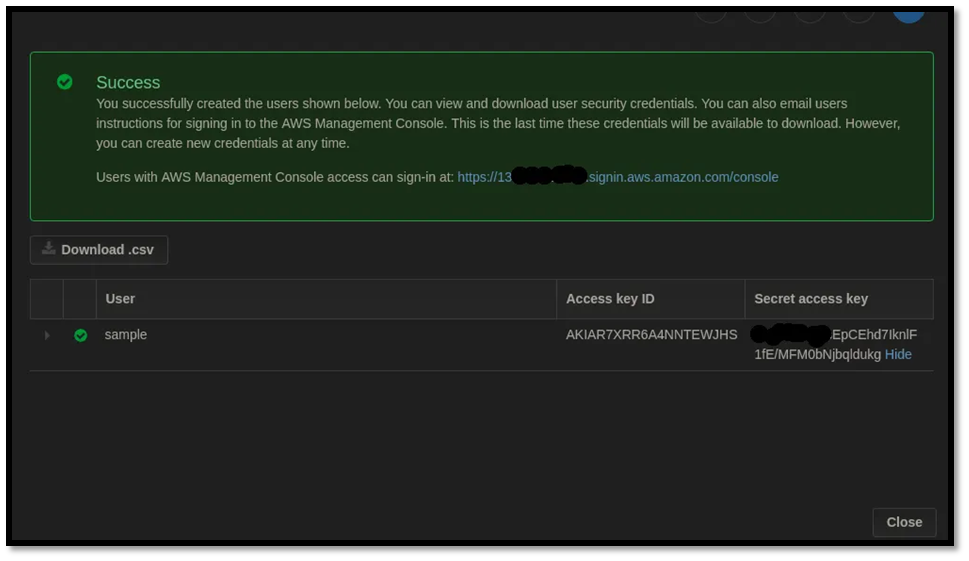
Once your two policies are ready, the next step is to assign them to a user. Instead of using an existing account, first create a fresh IAM user just for this setup. Choose Add user, enter a clear username, and under access type enable Programmatic access so the user can authenticate via API or CLI. Continue to the permissions step, choose Attach existing policies directly, then search for and select the custom policy you just created. Optionally add tags for easier management, review the summary, and create the user. On the final screen, make sure to download the .csv file that contains the access key ID and secret access key, because this is the only time the secret key will be visible to you.
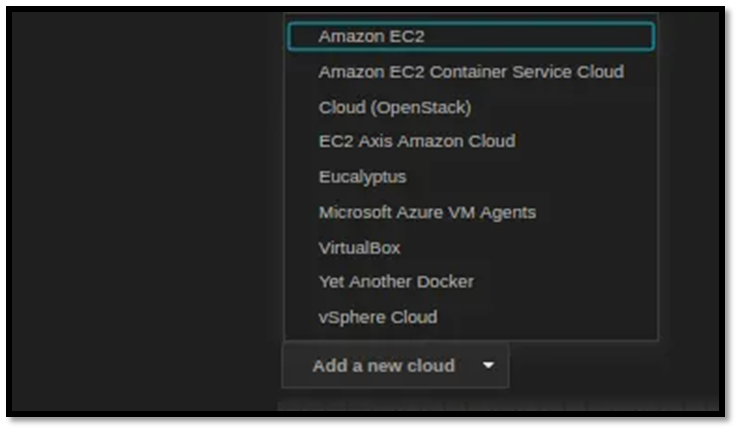
Right about now, we are halfway done. Let go back to Jenkins, click on Manage Jenkins, and click on Configure System. Scroll down till you find a drop-down: Add a New Cloud.
Next, configure the EC2 connection details inside Jenkins. Start by entering the same name you used for your AWS user so everything stays consistent. For the Amazon EC2 credentials field, click Add, choose the Jenkins credentials provider, then select AWS Credentials as the kind and paste in your Access Key ID and Secret Access Key. Give this credential a clear name so you can recognize it later and save it. You also need the EC2 key pair’s private SSH key (an RSA key) so Jenkins can connect to the instance. You can either generate this key pair in AWS using the AWS CLI, or create an SSH key locally and upload the public part to AWS, following the official AWS, CloudBees, or GitHub SSH key guides. Once you have the RSA private key, copy it into the appropriate field in Jenkins and click Test Connection to confirm that Jenkins can successfully reach your EC2 instance.
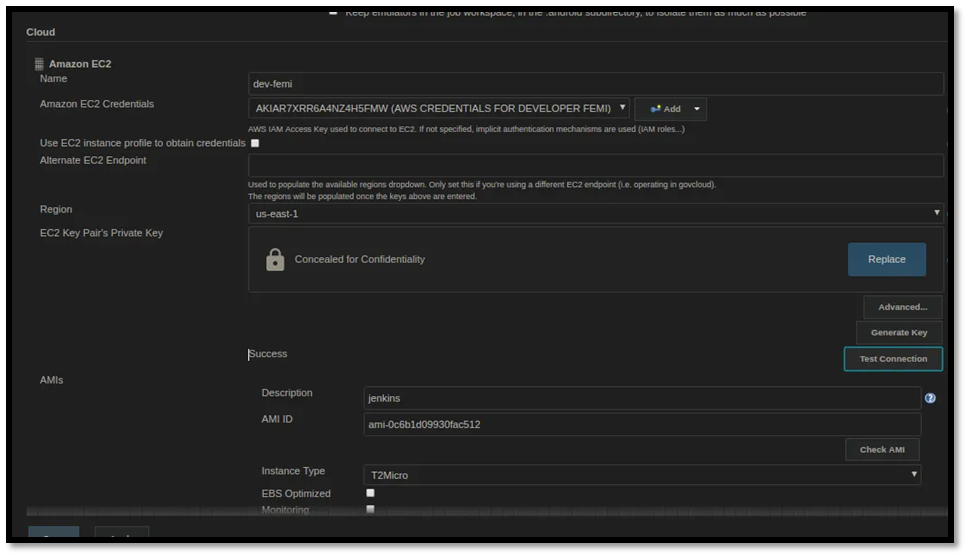
On the AMI page, give your AMI a name, copy and paste one of the free-tier AMI IDs, and click on Check AMI to be sure the AMI selected is available. You should get a response like the one below

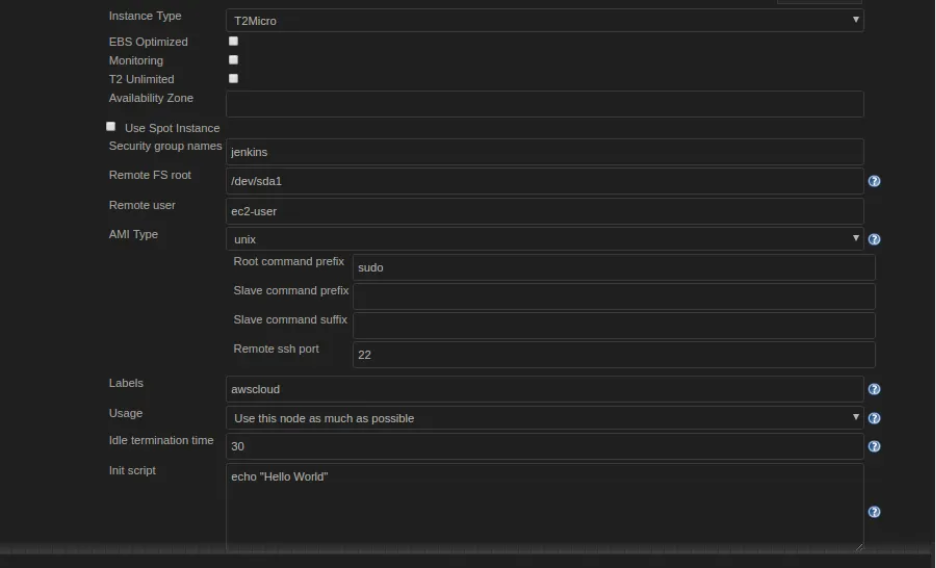
For this demo, I'll go with a t2.micro instance since it's free under the AWS Free Tier—perfect for testing without any cost. In the User Data script (under Advanced Details), I just added a simple init command to print "Hello World" to the logs once the EC2 boots up. You could easily swap this for installing packages like Docker, Node.js, or anything else you want, auto-launching on startup. Don't forget to add a Name tag (like "awscloud-demo") in the Tags section for easy identification later.
Click on Apply and Click on Save. Create a new Job, for me, the Job I am creating sends a notification to a Slack Channel and then launches an EC2
agent { label ‘awscloud’ }
stages {
stage(‘Slack Message’) {
steps {
slackSend channel: ‘#job-info’,
color: ‘good’,
message: “*${currentBuild.currentResult}:* Job ${env.JOB_NAME} build ${env.BUILD_NUMBER}\n More info at: ${env.BUILD_URL}”
}
}
}
}
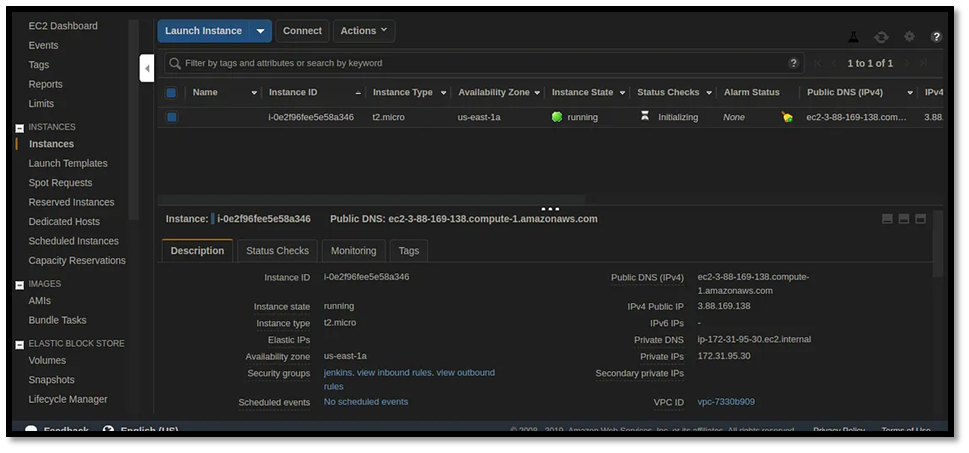
And there you have it click on Build now and watch Your Instance get created
 You can also check your Jenkins SysLog for any success output like the one below

And there you have it, you’ve successfully launched an EC2 Instance right from Jenkins